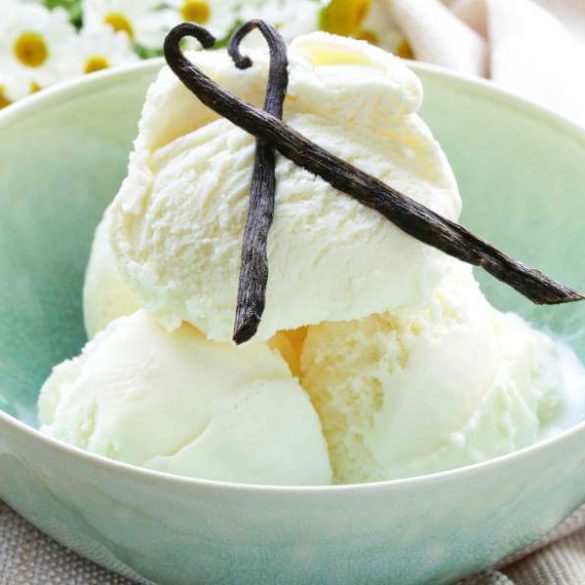
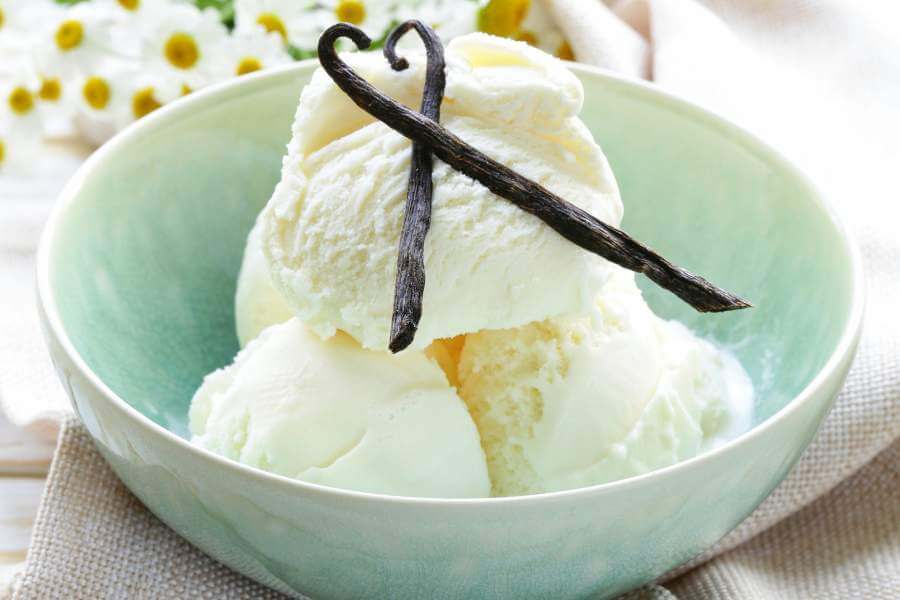
If you’re a fan of delightful frozen treats but don’t want to go through complicated steps, my Ninja Creami vanilla ice cream recipe is the perfect solution. The Ninja Creami blender simplifies the process, making it a breeze to create velvety smooth, and luscious vanilla ice cream at home. With just a handful of simple ingredients and the magic of Ninja Creami, you’ll be savoring this classic dessert in no time.
In this recipe, I have described the easiest and best way to prepare vanilla ice cream with simple ingredients. You can store the ice cream in the refrigerator and enjoy it at any time.
Mastering Ice Cream Making with Ninja Creami
It is quite awesome to get yummy ice cream prepared right at home. Also, the wonderful thing about Ninja Creami vanilla ice cream is that you must follow very few steps to get the perfect vanilla ice cream. Maybe it is the simplest recipe I have tried at home. Moreover, the Ninja Creami blender does the most crucial part of making ice cream.

Ninja Creami is a multifunctional blender. For different functions, you will get multiple containers with it. Different blades, lids, and containers work for different purposes. I have tried all types of functions, like Ice cream, sorbet, smoothies, Gelato, milkshakes, etc. The easiest recipe using Ninja Creami would be vanilla ice cream made with heavy whipping cream. Also, if the automatic function doesn’t work well, you can manually set up the time and spin speed and store the mixture in the freezer.
Ninja Creami adds extra benefits for ice cream lovers like me. Therefore, I am sharing my experience using the blender to make ice cream and providing a detailed Ninja Creami recipe.

Ingredients
- ½ tablespoon Vanilla Bean Paste
- 1 tablespoon Heavy Whipped Cream
- ½ Cup Granulated Sugar
- 1 Cup Chilled Whole Milk
- 1 tablespoon Cream Cheese
- ½ teaspoon Salt
- ½ teaspoon Vanilla Extract
- ½ Cup Half-and-half Cream
Instructions
Step 1: Soften Cream Cheese by Microwave Oven
Take 1 tablespoon of cream cheese and soften it a little bit using a microwave oven. You can also soften it by whipping or stirring continuously. Also, you can use unsalted, softened butter instead of cream cheese as a substitute. But I recommend cream cheese for creamy vanilla ice cream.
Step 2: Mix Sugar, Vanilla Extract, and Vanilla Bean paste.
Combine the softened cream cheese with 1/2 cup of granulated sugar first. Stir the mixture until the sugar is fully dissolved. Then add 1/2 teaspoon of vanilla extract and 1/2 tablespoon of vanilla bean paste.
Now stir the whole creamy mixture using a silicon spatula. Mix them properly and ensure there is no chunk left.
Step 3: Make the Ice Cream Paste
Now add the other ingredients to the mixture. First, Add 1 tablespoon of chilled whole milk to the paste. Then stir them until there are no chunks of paste left. Then add the rest of the chilled milk and combine.
Finally, add 1 tablespoon of heavy cream, 1/2 cup of half-and-half cream, and 12 teaspoons of salt. Stir the whole paste for 5 minutes and ensure the paste is totally smooth. After finishing mixing, store it in a refrigerator for at least 24 hours.
Step 4: Churn the Paste Using Ninja Creami
For this step, I recommend using the Ninja Creami Ice Cream Maker and its pint container. Pour the whole mixture into the holder cup of the Ninja Creami pint container. Place the cup in the ice cream maker. Then turn on the main switch and select the ice cream option for the task.
The Ninja Creami machine will churn the paste, and within 5 minutes, you will have your vanilla ice cream ready.
Please note: You must use certain containers with blades to churn the vanilla ice cream.
Step 5: Decorate and Enjoy Vanilla Ice cream.
In the last step, decorate the ice cream if you wish. If you are a chocolate lover, then you can pour some melted chocolate into the ice cream. Store the vanilla ice cream under 5 degrees Celsius.
My Special Tips for Beginners
You may face some problems or not get the perfect result. So here are some special tips that may help you.
- The most important part of the recipe is to chill the ice cream pint properly. The more the pint is frozen, the more your ice cream is perfect. So, consider freezing an ice cream pint for at least 24 hours before churning it.
- If you love greasy vanilla ice cream, then put more cream and fat contents into the paste. Similarly, if you do not want your ice cream to taste waxy, use less greasy ingredients and add more milk and water.
- Using high-quality ingredients is always an important tip for every recipe. So the same goes for this cooking recipe. Use good-quality cream cheese, vanilla extract, and whipped cream.
- You can use different flavors and add fruits, chocolates, and nuts to the ice cream. Use these additional frozen ingredients.
How to Make Ninja Creami Vanilla Ice Cream Without Cream Cheese?

Making Ninja Creami Vanilla Ice Cream without cream cheese is possible. The absence of cream cheese in the Ninja Creami Vanilla Ice Cream recipe doesn’t affect its overall outcome. You can use a substitute like mascarpone cheese, Greek yogurt, or softened butter for a creamy texture.
These options will work well in the recipe and produce delicious vanilla ice cream. Replace the cream cheese with an equal amount of mascarpone cheese, Greek yogurt, or softened butter, and follow the rest of the steps mentioned in the recipe. The result will be a creamy and flavorful vanilla ice cream that you can enjoy without using cream cheese.
F.A.Q.s
How Do You Make Ice Cream in The Ninja Ice Cream Maker?
You can make different flavors and types of ice cream using Ninja Creami. The simplest way is to make pure vanilla ice cream. You can make vanilla ice cream using only four ingredients: milk, cream, vanilla essence, and sugar.
Then you need to put the ice cream into the mixing bowl of Ninja Creami. Simply turn on the switch and select the ice cream option. You get your ice cream perfectly made after 4 to 5 minutes, with a creamy texture that will make your taste buds dance. Ninja Creami churns the ice cream perfectly.
Why Does Ninja Creami Ice Cream Taste Waxy?
Overturning or overmixing can cause it to taste waxy. That’s why you shouldn’t churn the ice cream for more than 5 minutes. Besides, mixing too much fat, like butter or cream, may cause this. So, it’s better not to use too much butter or cream.
Also, don’t overwhip the cream. This can also make Ninja Creami ice cream greasy. For a sweet treat vegan option, consider using non-dairy milk and coconut cream substitutes.
Do I Really Need to Freeze Ninja Creami For 24 Hours?
To get the perfect ice cream, the answer is yes. After preparing the Ninja Creami ice cream pints, freeze them for at least 24 hours. Then use the re-spin function on the pint, making sure to fill it only up to the max fill line, and you will get the best results.
Can I Use Frozen Fruit in The Ninja Creami?
Absolutely yes. You can use frozen fruits and prepare sorbet or fruit ice cream by using Ninja Creami. Besides, if you love to add flavors to vanilla ice cream, you can mix up frozen fruits like frozen strawberries, blueberries, mango, etc. Also, you can use fresh fruits instead of frozen ones. Both will work best.
What Are The Benefits of Eating Ninja Creami Vanilla Ice Cream?
Ninja Creami Vanilla Ice Cream is a healthier alternative to traditional ice cream. It is made with wholesome ingredients, contains less sugar and calories, and can be customized with different flavors and toppings. Plus, it’s easy to make at home using the Ninja Creami Blander.
Bottom Line
I hope you enjoy my easy homemade Ninja Creami Vanilla Ice Cream recipe. If you have any questions or need any clarification, feel free to reach out. So go ahead, follow my simple steps, churn it up, decorate if you desire, and savor every spoonful of this delightful treat. Your taste buds will thank you!
Read More Recipe:


